Activation & Licensing
After successfully completing the purchase and installation of your plugin onto your WordPress website, you must both activate and provide licensing information for the plugin in order to use it on the website.
Plugin Activation
Within the Plugin menu, click on Installed Plugins to get a list of plugins currently available on your website. Scroll down the list and look for Forms Bouncer within the page. If the plugin is not listed that means that it has not been installed yet, and you must upload and install the plugin before it can be activated.
After you find the plugin listed on the Installed Plugins page, you will see a link to activate the plugin. Click this link and WordPress will run the activation script for the plugin for your website.
Plugin Licensing
Once the plugin has been purchased, installed, and activated on your website the final step in making it available to use is entering the licensing information. Your plugin will not be available to use until you have provided a valid license code. In the same email that contained the link to your plugin download you should have the license key to activate the plugin.
Based on your purchase the plugin may not have an unlimited number of activations. Unless you purchased the Studio license you will have either 1 or 5 WordPress websites that you may have the plugin active at a time.
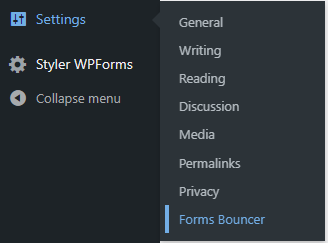
If your plugin has never been activated on your WordPress install you will see an empty field within the Forms Bouncer settings page. This empty input field is where you will paste the license code you received when purchasing the plugin.

Once you enter your license key and click the Save Changes button WordPress will attempt to validate your key.
Should you need support in retrieving your key please reach out to support@slipperysource.com